Quadropod - Rework complete
Rework of the code is complete. Now it’s completely based on the timer interrupt. I must admit, it’s a huge difference in the way motion feels and is programmed. The level of control over what happens and when is tremendous. Exciting!
Here comes “before”:
And this one is “after”:
It’s quite obvious that the bot is moving much faster. It’s not because I managed to rise the angular speed, but due to that computations for the next step happening while the bot is moving and so when it’s time to send another portion of instructions the whole plan of steps for all next control points is ready.
Also, due to the fact that it’s now timer driven, we can adjust the speed to some degree. It’s very useful for debugging purposes when you can see each individual control point happening in slow mo. Handy.
Code
For those interested in how the code looks I offer a quick peek. I won’t be posting whole source code or boring computational logic. Just a couple of curious pieces illustrating the API that can be used to control the robot. It hides all the underlying complexity.
Let’s start with the initialization.
void cmdInitialState()
{
  int *moves = movesReset();

  moveLegToCoords(LEG_FRONT_LEFT,   50,  25, _cmdWorkHeight);
  moveLegToCoords(LEG_FRONT_RIGHT,  50,   0, _cmdWorkHeight);
  moveLegToCoords(LEG_BACK_LEFT,    50, -25, _cmdWorkHeight);
  moveLegToCoords(LEG_BACK_RIGHT,   50,   0, _cmdWorkHeight);

  driverExecuteSync(moves);
}
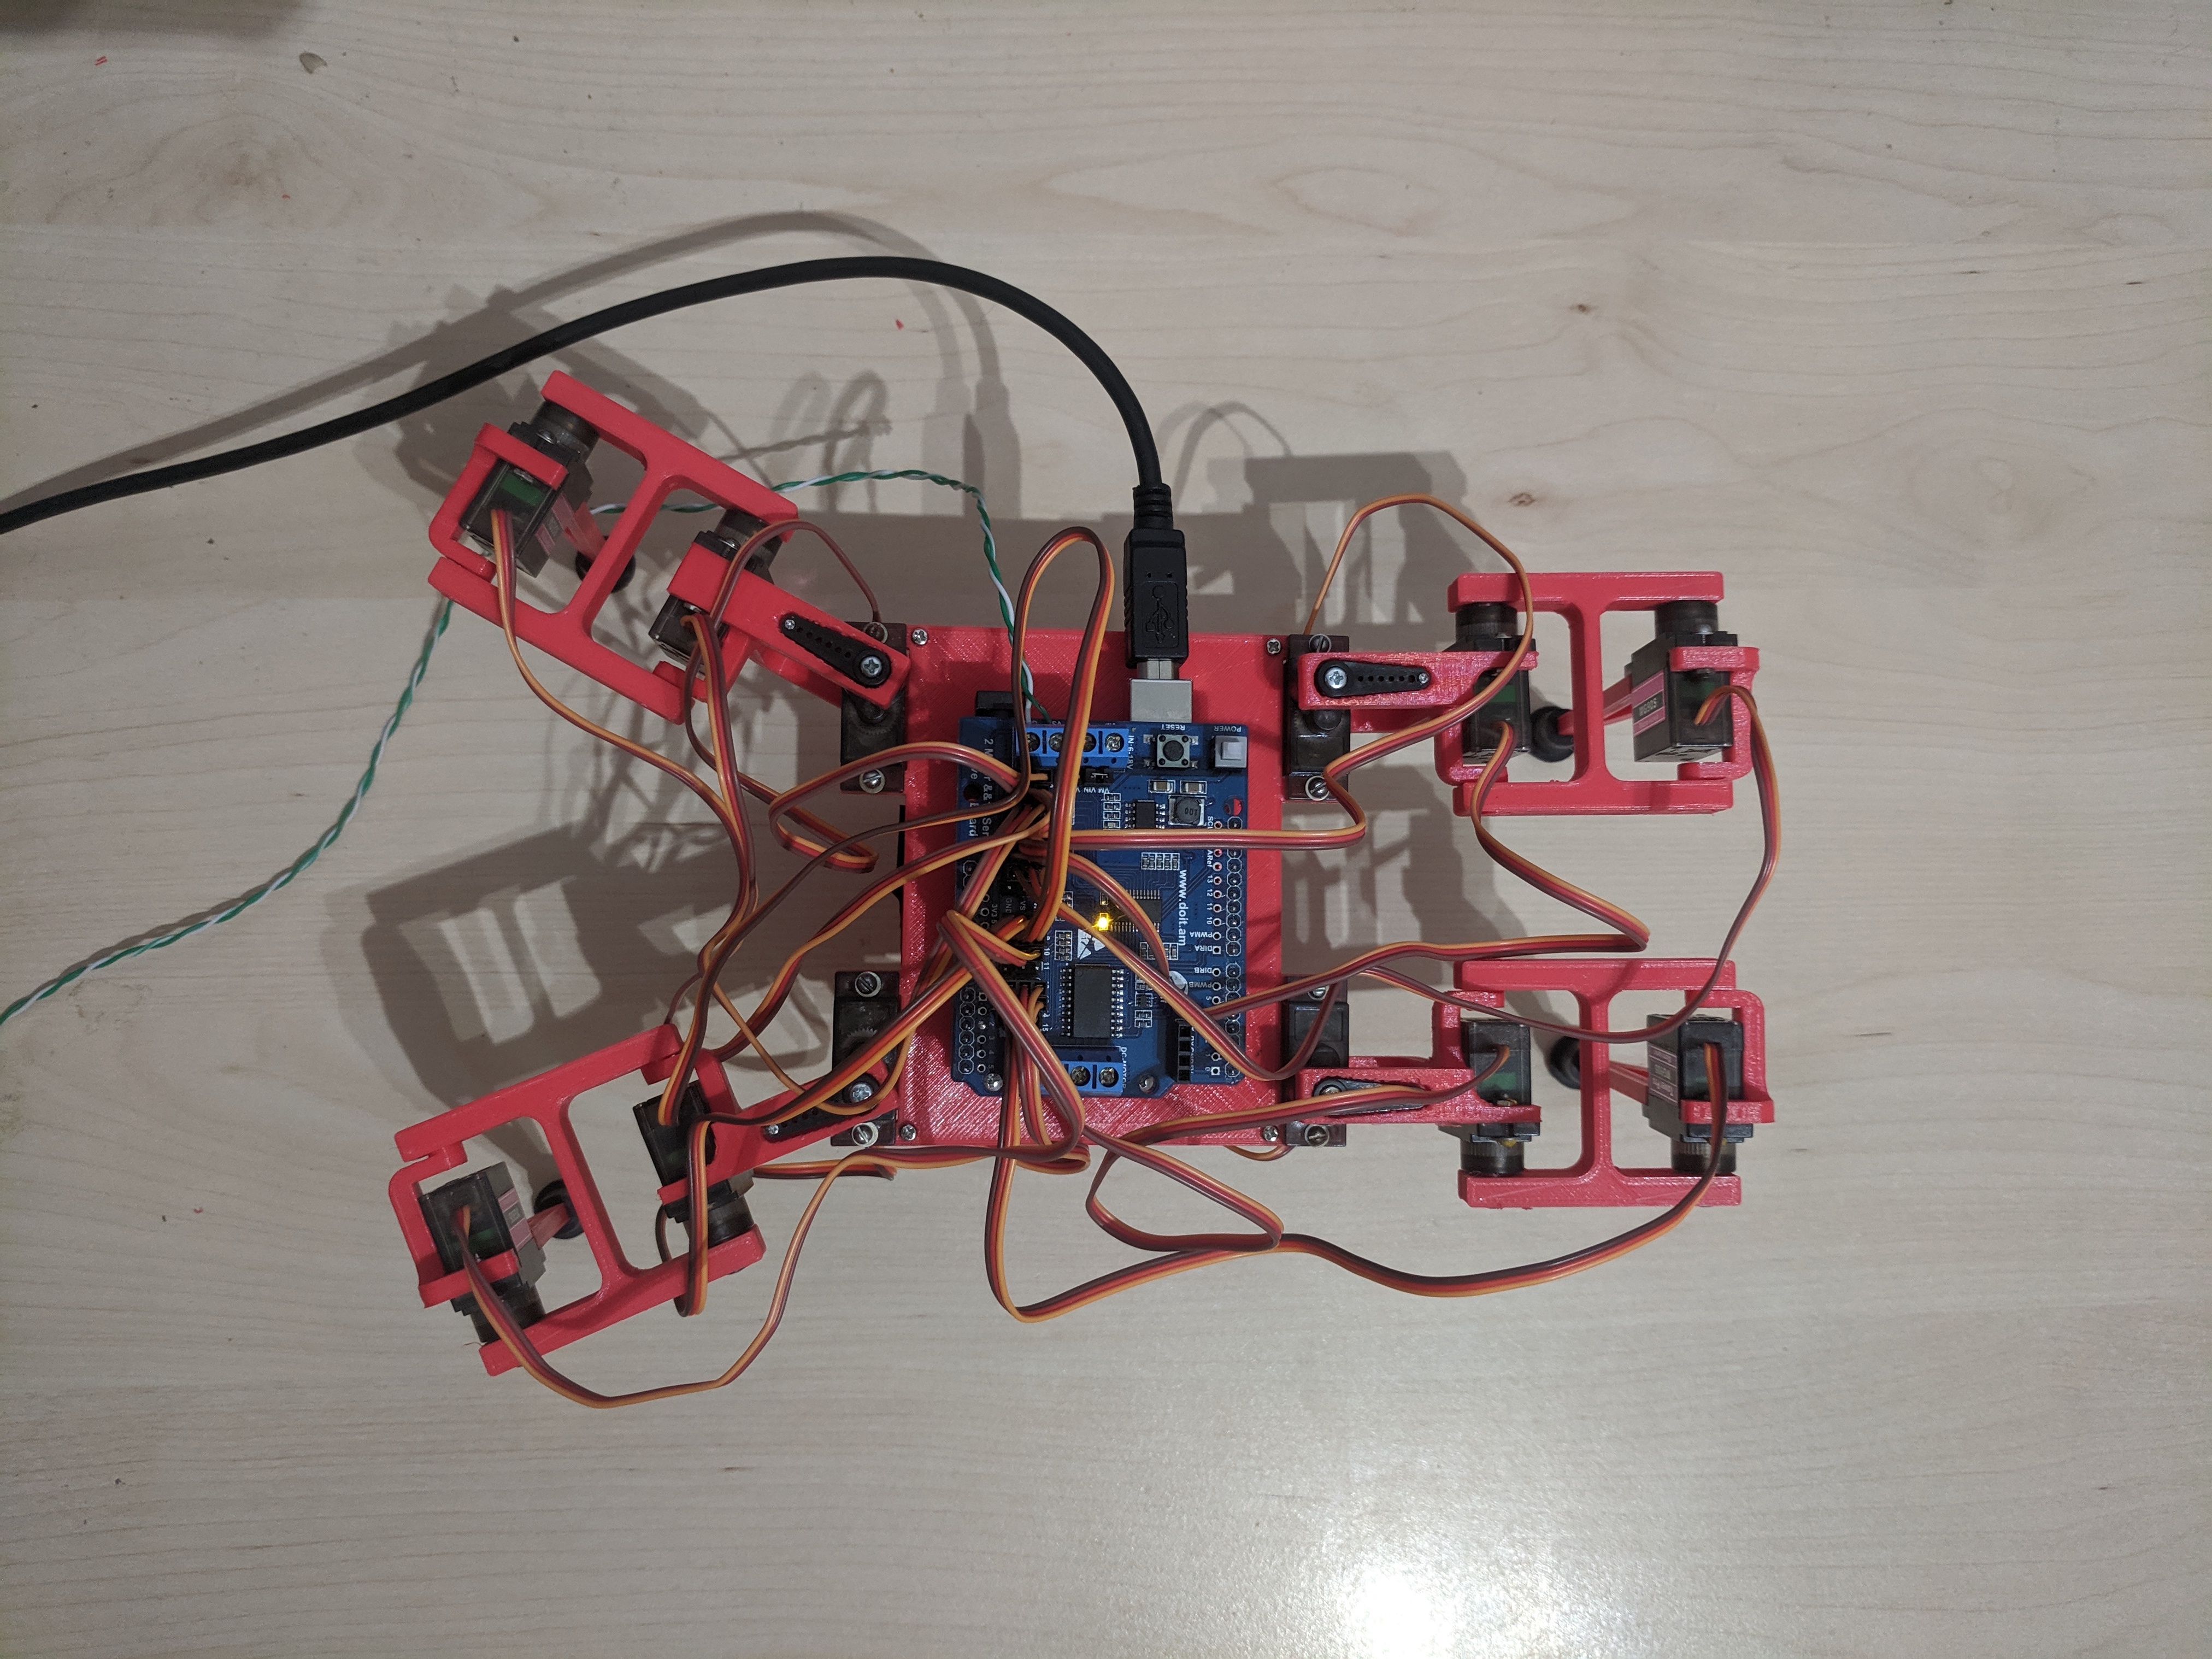
It brings the bot into the position below. You can guess that values are x and y
distances in mm. There are several z values that I use. Among them
_cmdWorkHeight that represents the height of the body in the work
mode. The are also for the body on the floor and the one that I use for
lifting leg off the ground for moving over to a new position.
 {: .center}
Moving on. Here’s an example of the chained motion. The one where you need to make a move and proceed only when you are sure it’s over. It’s important for the case when you need to lift the foot off the ground and move it only when it’s lifted. That way you won’t affect your current body position.
void _cmdSF1()
{
  int *moves = movesReset();
  moveLegToCoords(LEG_FRONT_RIGHT, 50, 0, _cmdLiftHeight);
  driverWait();
  driverExecute(moves);

  moveLegFromToCoords(LEG_FRONT_RIGHT,
    50,  0, _cmdLiftHeight,
    50, 50, _cmdWorkHeight);
  driverWait();
  driverExecute(moves);
}
This step is happening when the front right limb is known to be at
[50, 0]. So we reset the buffer of motion sequence, prepare the
sequence for lifting the leg vertically, wait for any pending steps that
might be executing at the moment and start new moves. While we are in the
process, we can prepare the next move sequence (moving from a lifted
position to a new position on the floor 50mm ahead), the we wait for the
current sequence to complete and execute this next one.
Finally, here’s an example of how to prepare a simultaneous move of several limbs:
void _cmdSF2() {
  int *moves = movesReset();

  moveLegFromToCoords(LEG_FRONT_LEFT,
    50,  25, _cmdWorkHeight,
    50,   0, _cmdWorkHeight);
  moveLegFromToCoords(LEG_FRONT_RIGHT,
    50,  50, _cmdWorkHeight,
    50,  25, _cmdWorkHeight);
  moveLegFromToCoords(LEG_BACK_LEFT,
    50, -25, _cmdWorkHeight,
    50, -50, _cmdWorkHeight);
  moveLegFromToCoords(LEG_BACK_RIGHT,
    50,   0, _cmdWorkHeight,
    50, -25, _cmdWorkHeight);

  driverWait();
  driverExecute(moves);
}
Should be pretty self-explanatory at this point.
Calibration
I almost forgot to mention that for this to work good, servos need to be calibrated. All of them are made unique and feeding them with exactly the same values will produce unexpected results. Here’s how I define the structure for servo info.
struct ServoInfo {
  // Configuration
  int           num;          // Physical servo address
  int           mid;          // Middle point
  int           minimum;      // Minimum value allowed (collision protection)
  int           maximum;      // Maximum value allowed (collision protection)
  double        tick;         // Value representing one degree
};
And this is how my calibration matrix looks:
ServoInfo servos[] = {
  { .num =  0, .mid = 325, .minimum =  -20, .maximum = 180, .tick =  tick },
  { .num =  1, .mid = 300, .minimum = -180, .maximum = 110, .tick = -tick },
  { .num =  2, .mid = 300, .minimum = -110, .maximum = 190, .tick = -tick },

  { .num =  4, .mid = 290, .minimum = -180, .maximum =  20, .tick = -tick },
  { .num =  5, .mid = 320, .minimum = -110, .maximum = 180, .tick =  tick },
  { .num =  6, .mid = 330, .minimum = -190, .maximum = 110, .tick =  tick },

  { .num =  8, .mid = 300, .minimum = -180, .maximum =  20, .tick =  tick },
  { .num =  9, .mid = 300, .minimum = -110, .maximum = 180, .tick =  tick },
  { .num = 10, .mid = 300, .minimum = -190, .maximum = 110, .tick =  tick },

  { .num = 12, .mid = 330, .minimum =  -20, .maximum = 180, .tick = -tick },
  { .num = 13, .mid = 285, .minimum = -180, .maximum = 110, .tick = -tick },
  { .num = 14, .mid = 300, .minimum = -110, .maximum = 190, .tick = -tick },
};
numis the physical address of the servo on the boardmidis the 0-angle valueminimumandmaximumare the safe minimum deltas that you can apply tomidbefore the angle is such that the joins collide.tickis the value that is currently common to all of the servos and equals roughly2.11.
I guess that’s enough for one bite. Leave comments, ask for clarifications.
Happy building!