ALG Console Has Arrived
May 20, 2007 is an official birthday of the MIDI controller we were struggling over with my farther since September 2006. In fact, it was he who struggled most of the time elbowing his way through the technical obstacles. My part was only in the original design and programming of this babe. Just have a look. Isn’t it beautiful.

Let’s admit it, the front panel looks gorgeous. I was planning to use the device with Ableton Live and it drove the design almost completely. There are eight channels with five knobs, three buttons, two LEDs and a slider for each. All elements can be flexibly assigned to any controls within the application. Originally, I planned the yellow knobs for sends, red for EQ and green for panning, but as I play on I feel that the function may change sometime soon.
The top row of buttons with LEDs (right below the knobs) is mutes. The LED is shining when the channel is not muted and goes off when it is. The bottom two rows of buttons is somewhat really specific to Ableton Live. The green row arms the loop in the session view and the LED starts blinking until the loop is started. Once it is, the LED goes on. The black buttons turn the loop in the channel off.
If you were looking carefully, you could notice that there’s a ninth row with two buttons in place of a slider. This is the master row which has all similar controls. The only difference is that these two new buttons are cursor up / down in the session view of Ableton Live and select the scene, whereas the bottom-most are scene arm and disarm instead of corresponding loop arm / disarm in other channels to the left.
The right-most section with the display and keyboard was intended as a simple programmable sampler, but as I continue to play I find millions of new applications: programming the main section events, recording the turns of controls and replaying them, modifying the way knobs report their changes, changing the ranges controls work within and many more. The usage is limited only by my imagination.
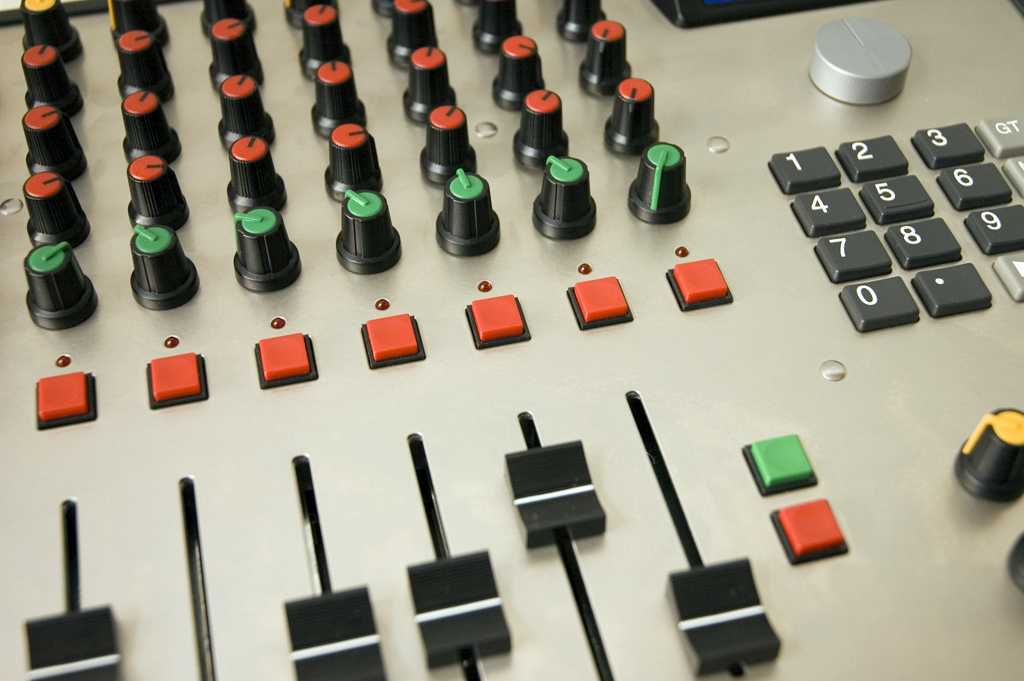
Now let’s get a bit closer. You can see in the picture how carefully the front panel is crafted. There are actually two front panels one over the other. The bottom one is the part of a frame, has all the screws and strengthening the device being made of steel. The top layer hides all the details from an eye and gives a pleasant look to the thing.
The components used are very fine and were purchased from one well-known electronic components store. By the way, these very sliders are used in extremely popular Allen & Heath Xone mixers. Buttons with 1 mm dive and noticeable triggering can be pressed in any corner equally well which is crucial for the night club rushy situations. What I’m really worried a bit about are these ultra-bright LEDs. The blind me if I’m not careful enough. Just kidding.
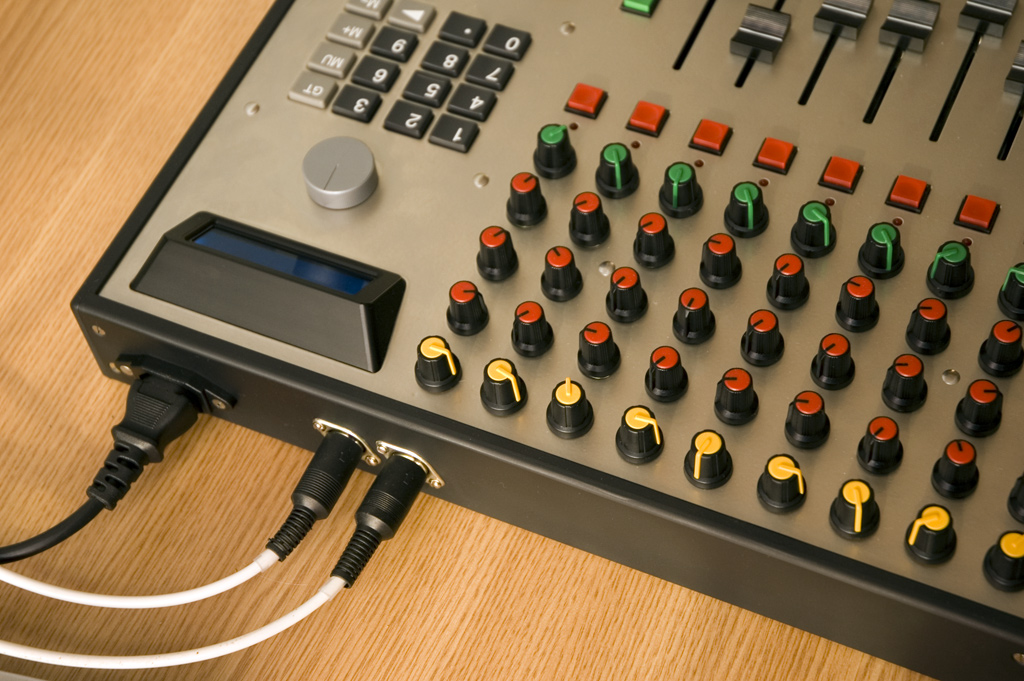
The rear panel is really-really simple. It has a power socket and two MIDI connectors (in and out). You could notice in the first picture, there was TC Electronic Konnekt 8 sitting to the right from the console. I bought it a little while ago to have MIDI in / out slots for my console and to produce a very clear and powerful sound I certainly couldn’t get from my laptop with on-board card. Konnekt is talking to the laptop over an extremely fast Firewire interface.
The case, housing the components, is built from an ultra-light bullet-proof plastic and covered with an extremely scratch resistant spray-paint.
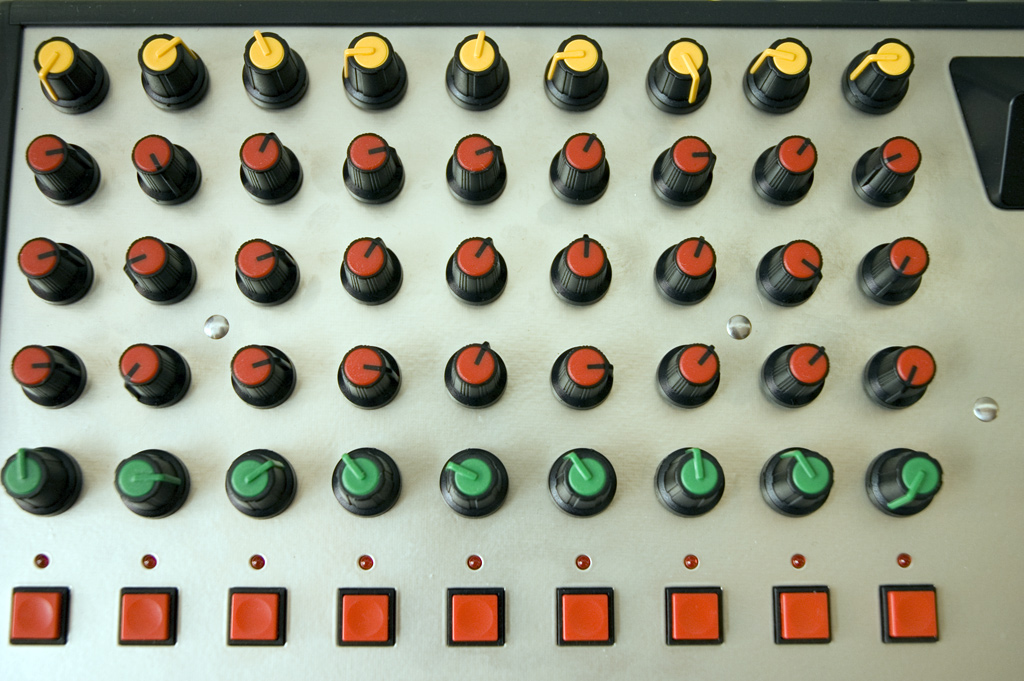
This is another little closeup for your viewing pleasure. The caps are easily replaceable and I’m already thinking to try some other. My fingers tend to slid off these if I turn them too fast or several at once. But anyway, these are insignificant details.
I hope you enjoyed this little walk through. Let me know what you think of the console and if you would like to have one. We are currently considering building custom consoles, so if you like this one and want to have your own (not necessarily with this design), drop me a line.
See you in the club!